Tracks Tab
![]() The following control panels are on the Tracks tab:
The following control panels are on the Tracks tab:
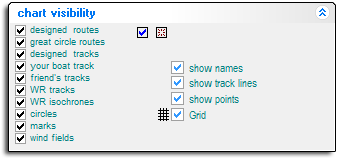
Chart Visibility
The Chart Visibility control panel lets you control which elements appear on the chart. You should generally leave everything turned on unless the chart is getting particularly cluttered.In games with interpolated winds you may like to hide the Grid - it's not much use any more.
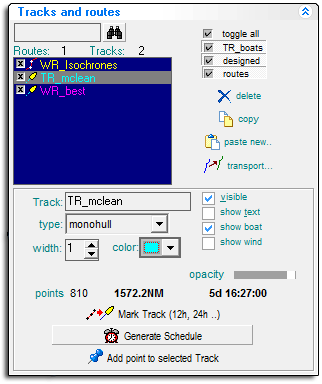
Tracks and Routes
Use the Track & Routes control panel to manage the tracks and routes in the chart database.The controls on the panel are self-explanatory - you can play with them as you like to alter the way the tracks and routes are displayed.
The blue window lists all the tracks and routes on the chart. New items are added to the bottom of the list. Use the [X] buttons in to hide items you don't want to see.
You can assign your own names to tracks and routes as you draw them by right-clicking after placing the final point.
There are some default names for tracks produced by the various modules:
- WR_best - best tracks produced by the Weather Routing module.
- WR_Isochrones - isochrone sets produced by the Weather Routing module.
- TR_(boatname) - The track of a boat imported by the Firefox Cache module or directly from a game server.
- Track(n) - The default name for a track drawn using the Track
 tool.
tool. - T_Track(n) - A copy of the same track with marks added using the Mark Track button.
To rename an item to something more meaningful select it in the window and then edit the name in the Track: box at the bottom of the window.
As you work the number of tracks and routes increases quickly. You should do regular housekeeping to keep the database tidy.
| Tip: Because there is no requirement for unique names it is easy to delete the wrong item. There is no undelete. It is a good idea to first hide any items you intend to delete, before actually deleting them. |
The [Mark Track (12h, 24h..)] button is used to add additional time and navigational information to an existing track. This is explained in detail in Designing Tracks.
The [Generate Schedule] button....
The [Add point to selected Track] button is used to...
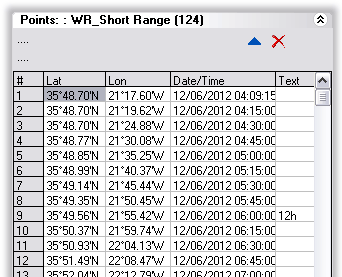
Points
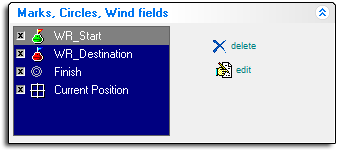
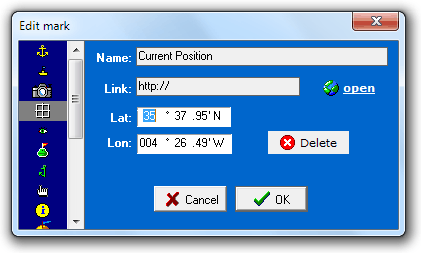
Marks, Circles, Wind Fields
This control panel gives you access to all the existing marks, circles and wind fields on the chart. If you double-click an item in the blue window the chart view centers on that item.
